
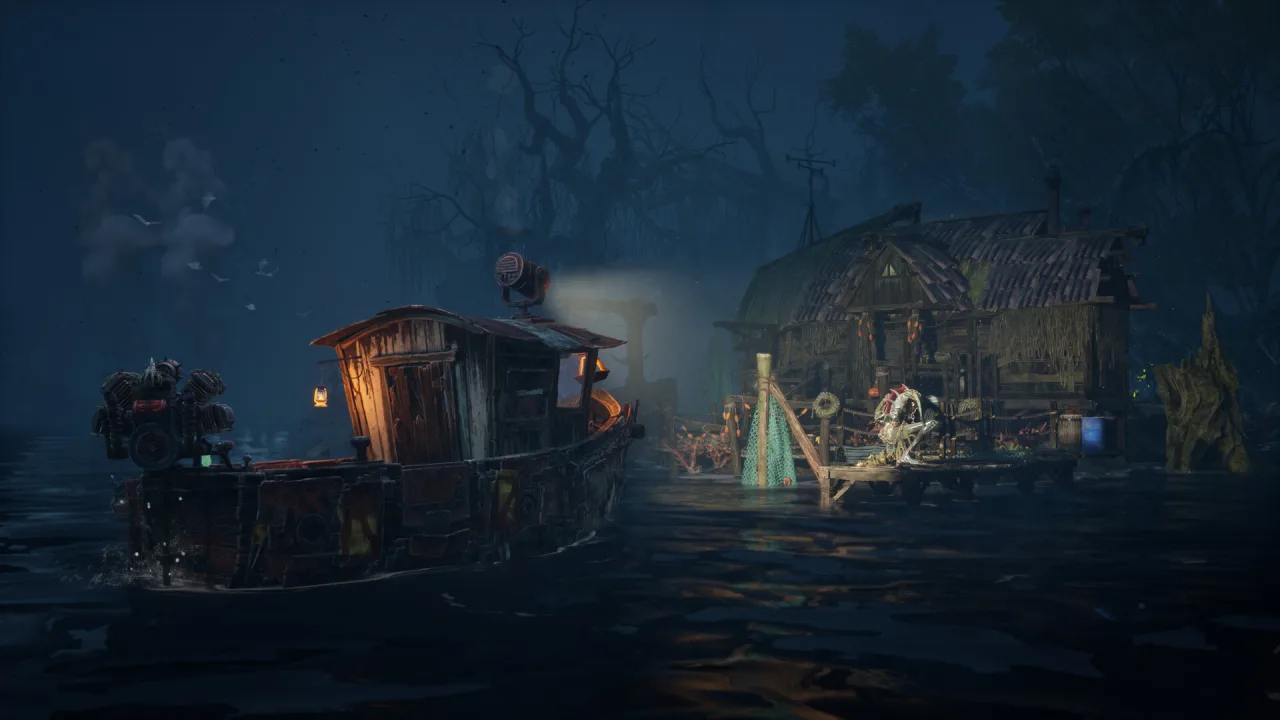
The last stretch of the Dreadmoor demo is a single machine with several failures stacked on top of each other. The generator is only the first of them, which is why so many players fuel it, press the Gate Control, watch nothing happen, and assume the demo has broken. It has not. The gate is built to refuse you once.
Where the generator is
The Throat is the gate complex that ends the demo. You dock at the structure and continue on foot — the machinery is spread across platforms, workshop floors and storage areas, and none of it is operated from the boat.
The generator sits in the machinery area inside the complex. It is not hidden, but it is also not on the direct path to the gate itself, so the mistake is walking straight to the Gate Control, finding it dead, and concluding that the sequence is bugged. Interact with the generator first and the objective updates.
The Fuel Can is inside The Throat
The first interaction with the generator reports that it has no fuel. This is the point where a lot of runs lose ten minutes to unnecessary sailing: the Fuel Can you need is available inside The Throat area, not at the trading post. Search the gate complex, bring the can back, refuel the generator, then start it.
If you already sailed away, the trip is not fatal — the fuel does not expire and the objective stays open — but it is the single most common wasted journey in the demo. The full walkthrough covers the same sequence in quest order if you want the earlier steps first.
Starting it is not the end
With power on, the natural next move is the Gate Control. Try it: it fails. That failure is scripted, and it is the mechanism that reveals the repair objective. The demo is telling you that electricity was never the whole problem — the gate's machinery is physically missing parts.
From this point the journal tracks each installation separately rather than giving you one combined checklist. That is deliberate: The Throat is not a corridor, and the parts are scattered across the workshop, the lower platforms and the storage areas.

The four repairs
| Part | What it fixes | Where it goes |
|---|---|---|
| Thermal Coil | the burnt-out electrical component | the damaged electrical housing |
| Gear / Axle | the missing gear assembly | the exposed drive train |
| Two Buckets | the water-wheel machinery | one per wheel side |
| Water Pump | the water feed | repaired in place, no crafting |
Two details in that table are worth repeating because they cost materials and time:
- The pump is repaired where it sits. Do not build a replacement at John's lathe.
- There are two Buckets, not one. Each belongs to a different side of the water-wheel machinery, and the objective will not close while one is missing.
Inspect every damaged machine before carrying components around. The parts do not auto-equip, and the journal only confirms the ones you have actually installed.
Why the gate still will not open
Once the four repairs are in, the objective changes from repair to water flow. That is a different problem in a different part of the complex, and it is covered in the water wheel guide because it has its own logic: four separate controls, each changing one route, and both wheels have to turn before the Gate Control responds.
The journal wording tells you which stage you are actually at:
- "Repair the waterway machinery" — a part is still missing. Recheck the coil, the gear, both buckets and the pump.
- "Configure the water flow" — the parts are fitted; the fault is at the channel controls.
- "Open the gate" — both wheels are running. Return to the Gate Control.
Reading that line prevents the most common late-demo loop: adjusting water controls that were never the problem while a bucket is still sitting in a storage crate.
What the demo does not answer
Two things stay open when the gate finally lifts. The demo has its own questline and the developer has not confirmed whether its save progress transfers into Early Access; the demo comparison separates what has been announced from what is still pending. And the gate sequence itself is demo-specific content — nothing published suggests the full build repeats this exact repair chain.
Fuel economy around the trip is a separate system. If you are still running the starter tank, the fuel and supplies guide covers how far a full load actually takes you, which matters more once you stop sailing back to the trading post out of habit.